

Welcome to Upchar-Q!
Your staff account has already been created by your Hospital Administrator or Clinic Administrator. To begin using Upchar-Q, you must activate your account by verifying your contact details and creating a secure password.Estimated Setup Time: 2–3 minutes
Before You Begin
Before starting the activation process, ensure you have access to:- Your registered Mobile Number
- Your registered Email Address
- The activation link shared by your Hospital or Clinic Administrator
Your profile and organization details have already been configured for you.
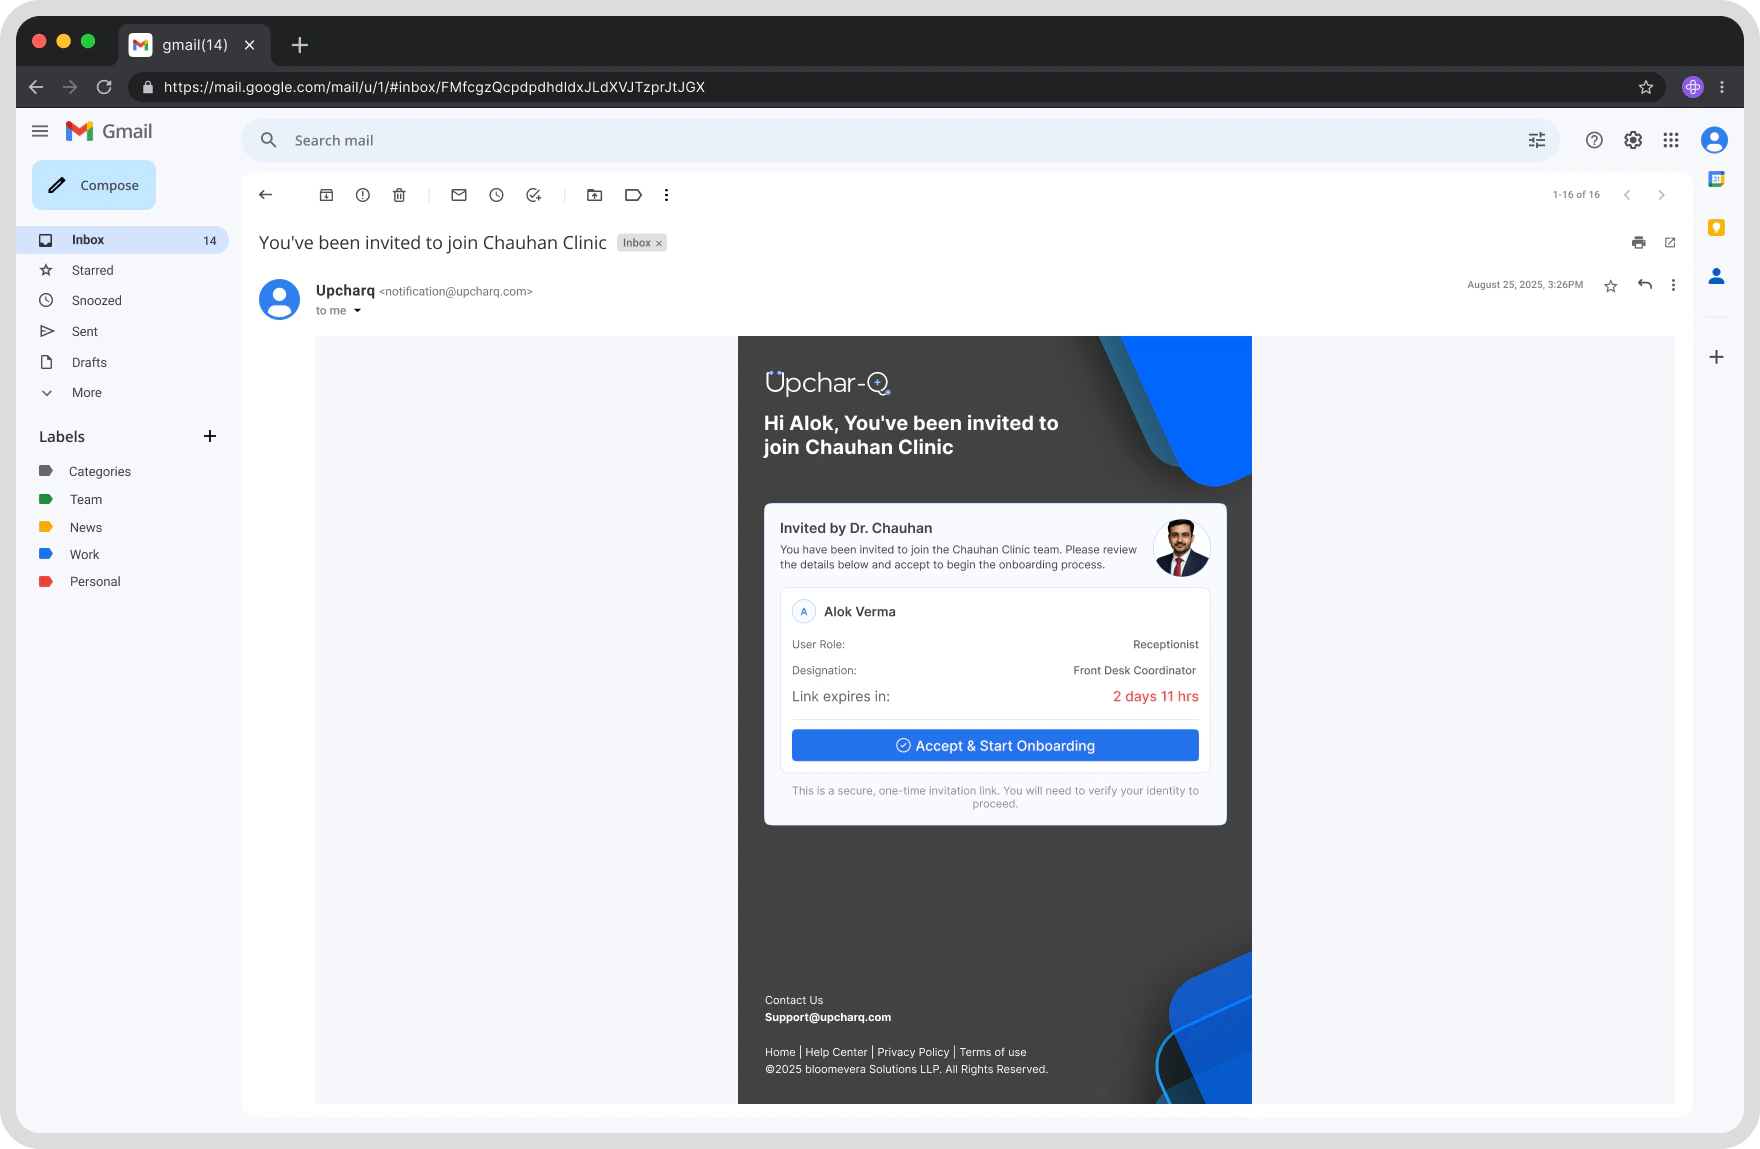
Step 1: Open Your Activation Link
Click the activation link provided by your Hospital or Clinic Administrator. You will be directed to the Upchar-Q Staff Account Activation page. Review the information displayed, including:- Staff Name
- Registered Mobile Number
- Registered Email Address
- Associated Hospital or Clinic
Step 2: Verify Your Mobile Number and Email Address
As soon as you open the activation link, UpcharQ automatically sends an OTP to both your registered mobile number and email address. You don’t need to click anything to trigger them — enter the codes when they arrive.
Once verified, a success indicator will appear for both mobile and email.
If You Do Not Receive an OTP
If You Do Not Receive an OTP
- Check your mobile network connection and your email spam/junk folder.
- Wait a few moments before requesting another OTP.
- Use the Resend OTP option to request a new code.

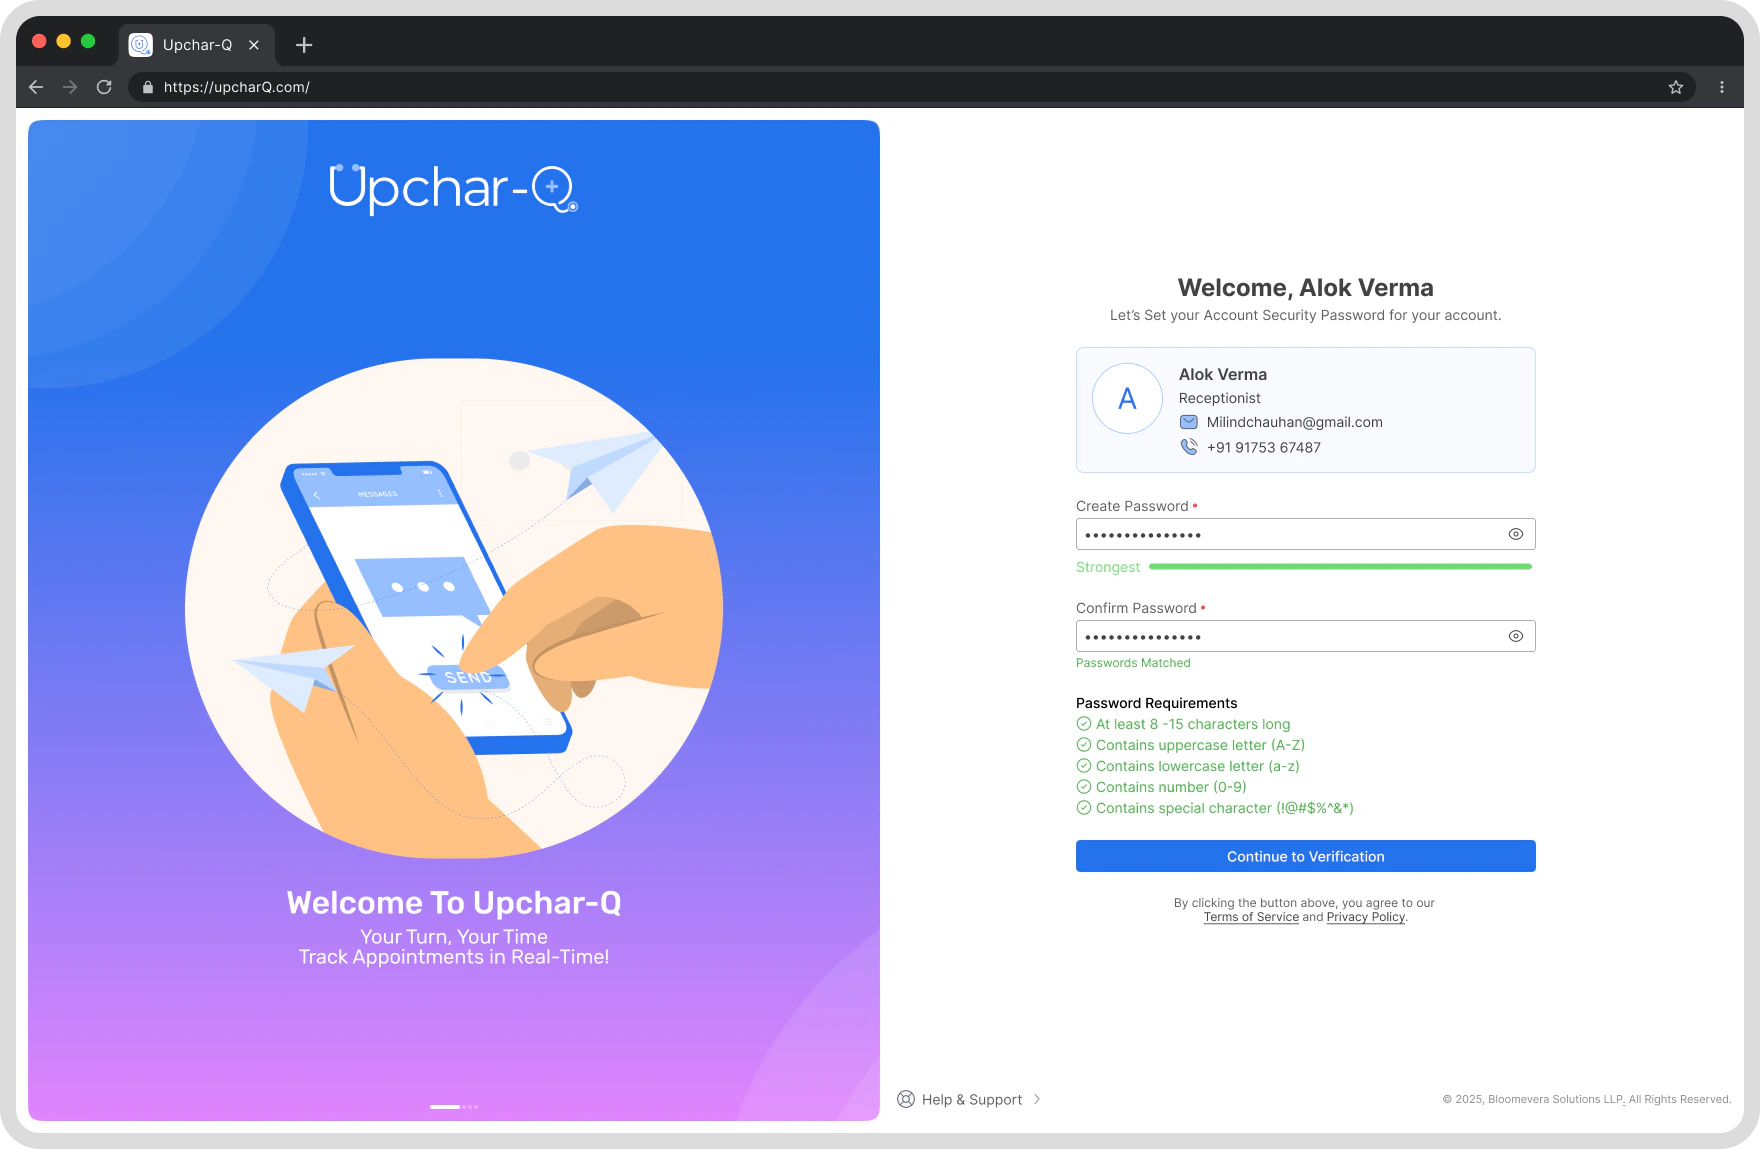
Step 3: Create Your Password
After verifying both your mobile number and email address, create a secure password for your account.Password Requirements
Your password should:- Be at least 8 characters long
- Include uppercase and lowercase letters
- Include at least one numeric value
- Include at least one special character
Setup Process
- Enter your new password.
- Confirm your password.
- Click Continue.
Your login credentials are now securely configured.
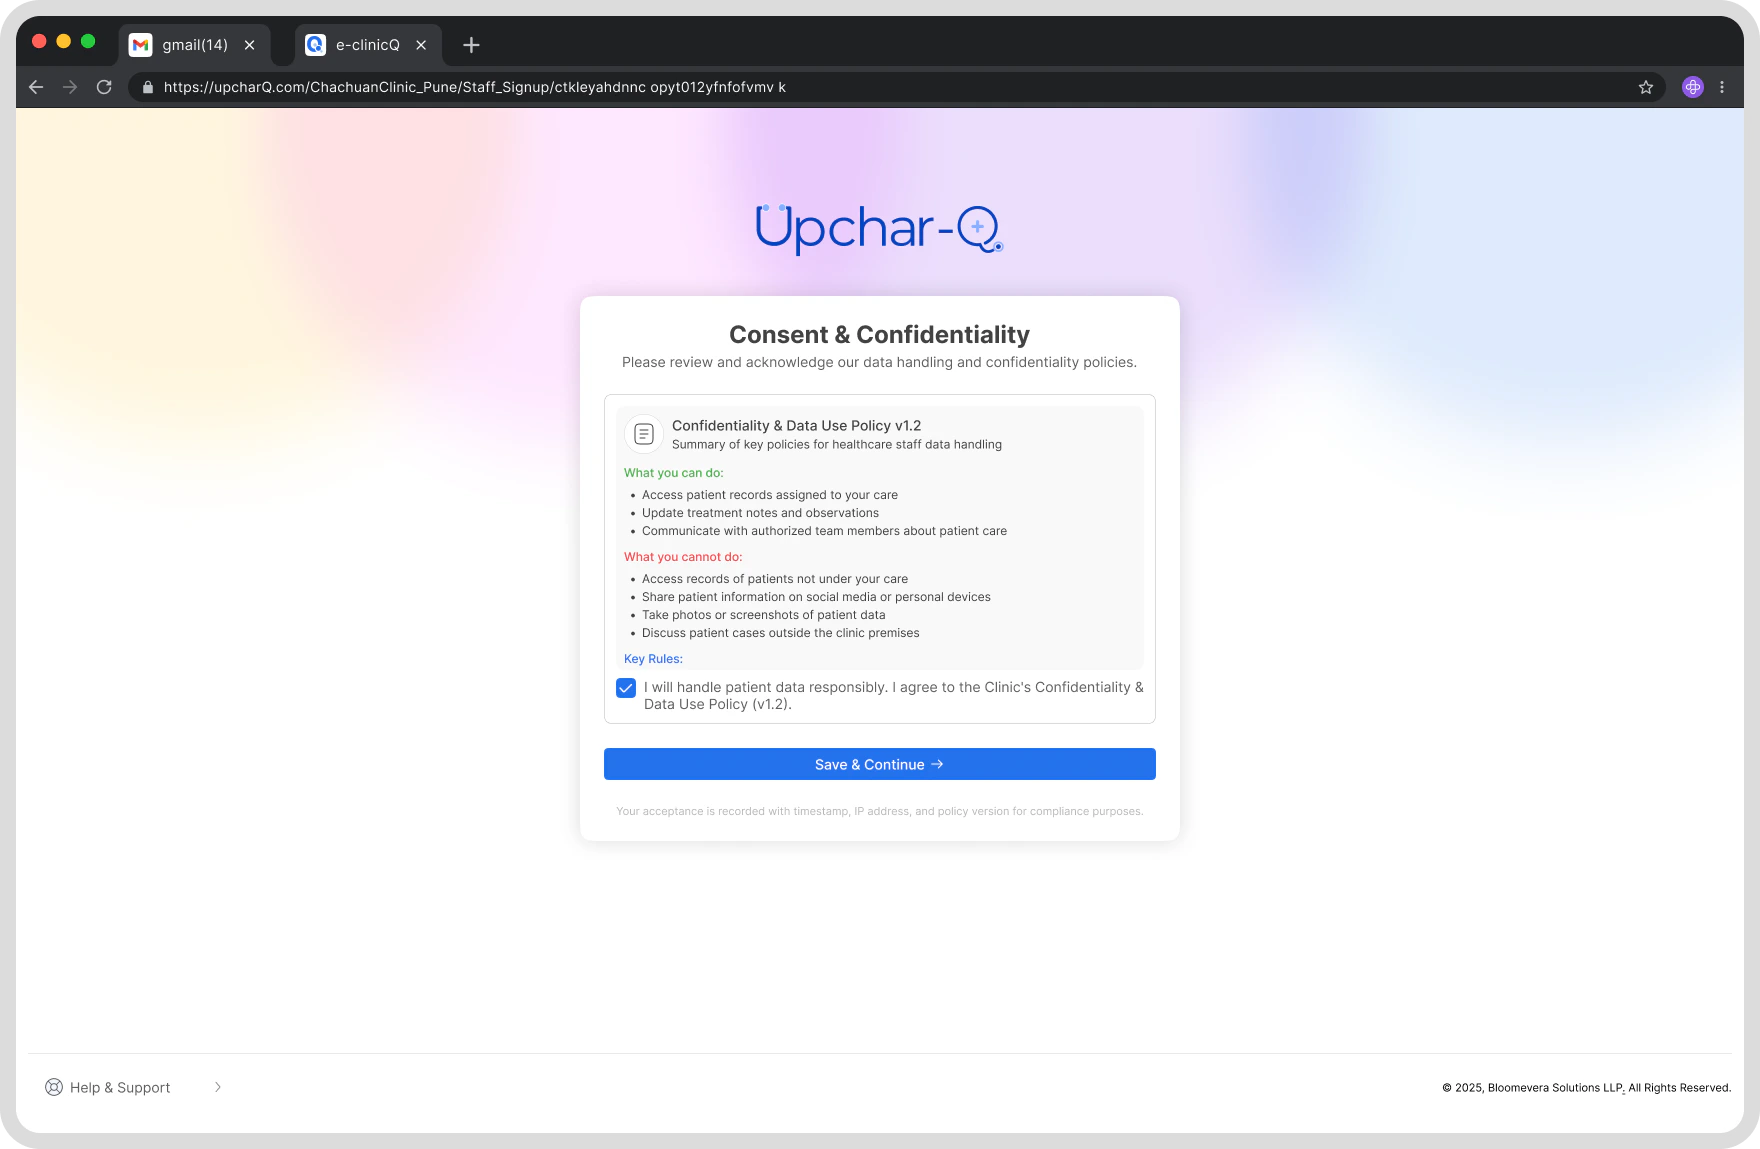
Step 4: Accept Terms & Privacy Policy
As a staff member, you may have access to patient information and healthcare-related records. Before accessing the platform, you must review and accept:- Terms & Conditions
- Privacy Policy
- Data Protection & Confidentiality Requirements
Your Responsibilities
By accepting these policies, you agree to:- Protect patient privacy
- Maintain confidentiality of patient information
- Access data only for authorized purposes
- Follow organizational and healthcare compliance requirements
- Use Upchar-Q responsibly and ethically
- Review the provided documents.
- Select the acceptance checkbox.
- Click Accept & Continue.
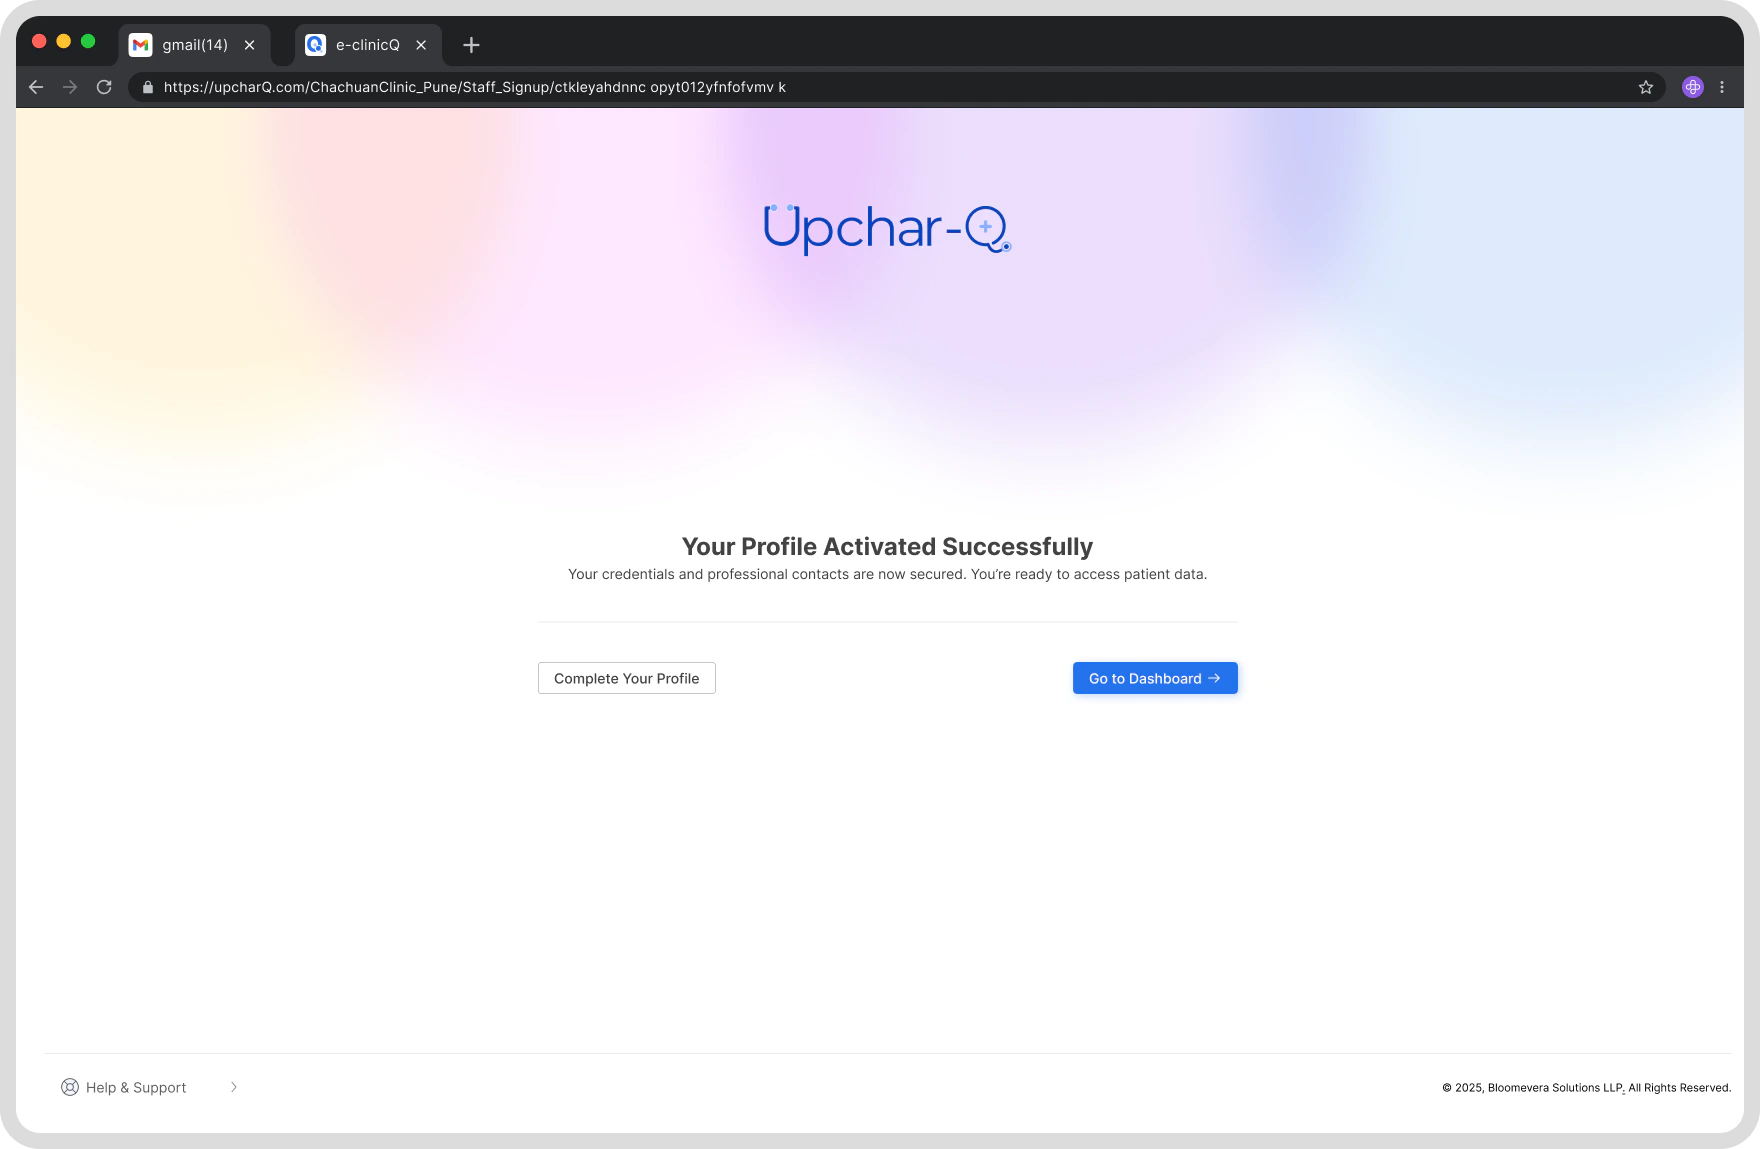
Step 5: Account Activation Complete
Once verification and policy acceptance are completed:- Your account will be activated immediately.
- No additional approval is required.
- You can begin using Upchar-Q right away.
Your staff account is now fully active.
Step 6: Access Queue Management
After activation, you will be automatically redirected to the Queue Management screen. Depending on your assigned permissions, you may be able to:- Add Walk-In Patients
- Manage Patient Queues
- View Appointment Lists
- Call the Next Patient
- Mark Patients as No Show
- Re-Add Patients to the Queue
- Manage Multiple Doctor Queues
- Monitor Queue Status in Real Time
Your available actions will depend on the permissions assigned by your Hospital or Clinic Administrator.
What Happens Next?
You are now ready to use Upchar-Q to manage daily patient flow and queue operations. For detailed instructions on queue management, appointment handling, and patient operations, continue to the Staff User Guide.Need Help?
If you experience any issues during activation:- Contact your Hospital Administrator
- Contact your Clinic Administrator
- Contact the Upchar-Q Support Team
Thank you for helping deliver a smoother patient experience with Upchar-Q.